The Best Ways to Get an Overseas Education Visa
To get a student visa, students must first apply for and be accepted to their study abroad program. Their international office or university should help with this step.
Next, students must complete the necessary paperwork and make an appointment at the embassy or consulate. The process and requirements vary by country.
1. Research the Requirements
There are many reasons students choose to study abroad, from accessing programs and courses that aren’t available in their own country to gaining a better understanding of another culture. Whatever the reason, most countries require students to have a special visa before they can begin their studies.
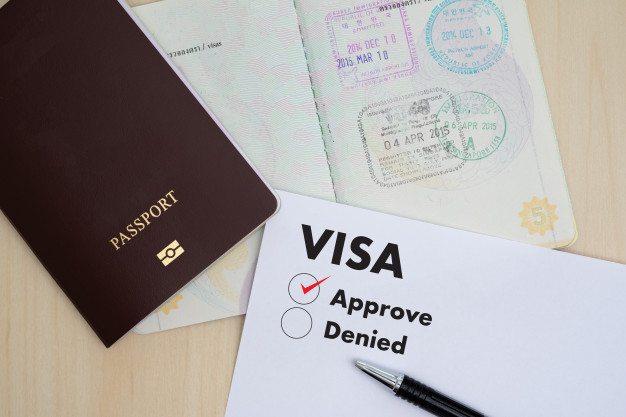
A visa is the host country’s permission for a student to enter and stay in the country, usually indicated by a stamp or sticker on one of the student’s passport pages. This document can take weeks or even months to obtain, so it’s important for students to start researching their prospective study abroad destination’s visa entry requirements well in advance.
Typically, students will apply for a visa at the consulate general or embassy that has jurisdiction over their home state. The specifics of these processes and fees vary by country, so it’s important to contact the consulate directly for more information.
In order to qualify for a visa, students must be admitted to and accepted at an SEVP-approved school (typically a university). They must also prove that they have sufficient financial resources to cover tuition costs as well as living expenses during their time abroad. Additionally, they must have ties to their home country and demonstrate that they intend to return there once their course is complete. If these requirements are met, it should be fairly easy for most students to gain a visa.
2. Apply for Admission
Once you have found a program that fits with your goals, academic interests and abilities, it is time to apply. Admission requirements vary by university, but in general you will need to submit high school grades, standardized test scores like the SAT or ACT and TOEFL (if applicable), and letters of recommendation from teachers. Most universities also require a personal statement or essay to help them determine if you will be a good fit for their program.
Once the university has determined that you are academically eligible, they will issue an I-20 form that can be used to apply for your visa. The university may also need to provide you with a letter on their letterhead certifying that they will sponsor your studies. This is usually required because some countries have a requirement that students prove they have sufficient funds to cover tuition, room and board and living expenses while they are in the country.
In addition to the above requirements, you will need to have a valid passport with at least six months of validity beyond your return date. You will also need a visa issued by the consulate of the country where you will be studying. Each country has a different visa process, including application fees, so it is important to research that information early on. In some cases, you will need to attend an in-person appointment at the consulate. This may involve flying, driving or staying overnight in a different city.
3. Apply for a Student Visa
Once your Designated School Official has issued an I-20 for you, and you’ve been accepted into a SEVP-approved institution, you’re ready to apply for a student visa. To qualify for a visa, you must have a valid passport and pay the non-refundable US$200 fee. You’ll also need several supporting documents, including a signed Affidavit of Support and proof that you have health insurance purchased for students.
Some countries have specific requirements, for example, they may require you to prove that you have enough funds to cover tuition and living expenses for the duration of your stay there. Others have a minimum amount that you must have available in your bank account, or they may compute this cost using a government standard. To avoid any confusion, contact your DSO and review the country-specific requirements for students before applying for your visa.
If you’re going through a third-party study abroad provider like CIEE or IES Abroad, they’ll take care of all the details for you and help you throughout the visa process. They’ll provide you with a detailed checklist and guide you through the steps to ensure that you have all the required documents. Be sure to follow their guidance and do not make any final travel plans until you have your visa. You should also plan to arrive at your destination well before your program starts to allow for any unexpected delays or cancellations.
4. Prepare for the Interview
You can expect to be asked questions similar to those you answered in your college application form. It’s a good idea to prepare your answers in advance so you can feel confident and more relaxed during the interview. Also, practice your conversation skills with a friend or family member who speaks English fluently. Speaking clearly and confidently will help you make a positive impression on the visa officer.
If you are able to convince the interviewer that you are capable of succeeding at the university, then they should be more inclined to grant you the visa. You can do this by providing strong evidence of your academic success, such as your test scores and GPA. You can also explain how your studies abroad will lead to career opportunities when you return home.
Another important aspect of your interview is showing that you have a clear plan for after your graduation. Having financial stability and strong ties to your home country will also help. If possible, have a sponsor write a letter explaining their financial situation, including the types of income they receive (salary, consulting fees, investments, etc.). The consulate will want to see that you will be able to support yourself financially during your stay in the United States.